|
Since the boat is 18 ft long and the plywood
is only 8 ft. long, you need to join the "short" bottom sections and side sections to make ~18 ft long panels. The process
on the FS18 involves using fiberglass splices to join the panels together. One layer of fiberglass tape is used on each side
of the joint. The resulting splice is stronger than the plywood itself.
Here's the basic steps for joining two sections:
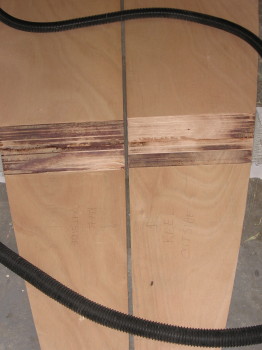
1) If the joint will be on the outside of
the boat, a small layer of wood is removed so when the fiberglass tape is applied, the tape will sit slightly below or even
with the rest of the plywood face. This will make fairing the joint much easier and the resulting area will blend in perfectly.
I used a stacked dado blade on my table saw to remove less than a 1/16" at each joint, about 3-1/2" from the edge of the seam.
Here's a picture of the joint prior to bonding...
2) Since the dado blade leaves a slightly
uneven surface, I precoated the joint with regular epoxy and then went over the uneven spots with a bit of filler consisting
of wood flour, milled fiberglass, & silica. This step would normally just be a precoat of epoxy.
The precoated joint below will be on the
inside of the hull and no material was removed from the plywood. This joint will be hidden under the sole and there's no need
to create a super fair surface when it won't be seen.
3) After the precoat has had sufficient time
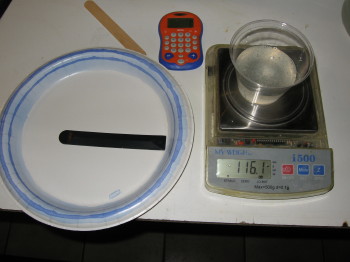
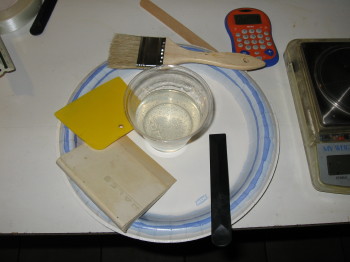
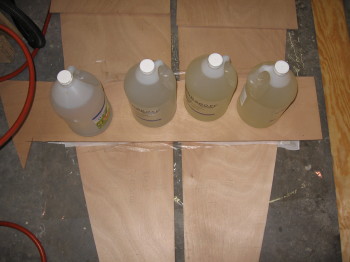
to react, but still slightly tacky, The fiberglass tape can be laid over the joint. I use the tools shown in the photos below
for most of my hand laminating.
Left image: Digital scale, calculator &
plastic stir stick, Right image: rubber squeegee, yellow plastic squeegee, 2" chip brush, plastic mixing cup).
I've used a scale to measure out the epoxy
resin and hardener for several years. It works well for me and it's the method I've brought with me from the days of working
in the aerospace business. It virtually guarantees the correct mixing ratios for each component. I've never had a batch fail
to cure using this method.
I apply the mixed resin to the fiberglass
using the disposable chip brush. I use the yellow, hard plastic squeegee to spread the excess resin over and into the fiberglass.
The white rubber squeegee is used to remove the excess resin from the saturated cloth. Removing excess epoxy makes for a stronger
& lighter lamination.
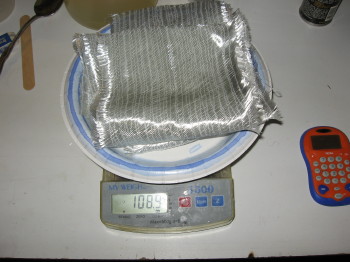
To estimate how much mixed resin I'll need,
I weigh the fabric and then add a little extra to insure I have enough for the amount of cloth used.
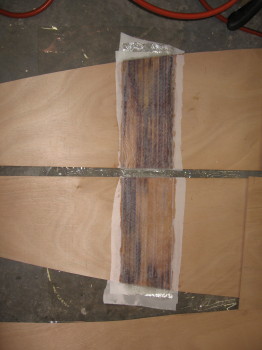
 4) Since I was working alone, I didn't get a chance to take any
pictures of wetting out the tape, using the squeegees, or applying the peel ply. I hope to get some shots of that later in
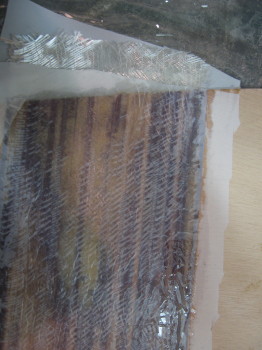
the building process. Below is a pic of a finished joint with the peel ply over the top of the epoxied fiberglass.
The peel ply serves a few useful purposes:
A.) It allows excess epoxy to pass through
its tight weave.
B.) The tight weave leaves a very good surface for bonding subsequent layers after the epoxy is cured.
Without peel ply you would have to sand the layer to create a surface for a good mechanical bond on the cured epoxy.
C.)
If you leave the peel ply on, it will protect the lamination underneath from being contaminated with subastances that may
inhibit bonding.
D.) If your epoxy is prone to blushing, the peel ply will leave a surface free of the waxy blushing
residue because the blush will have formed on the layer of epoxy on top of the peel ply.
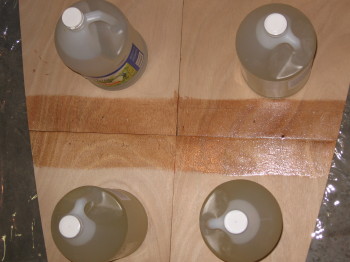
5) As a last step, I covered the joint with
a plastic sheet and place a board with weights to make sure the edges stayed flat and even. They had a tendency to lift up
in spots.
|