It's
been several weeks since my last update. In Florida, it's the "Mean
Season". The months of August and early Sept are hot and humid
to say the least. This has definitely slowed down the building progress.
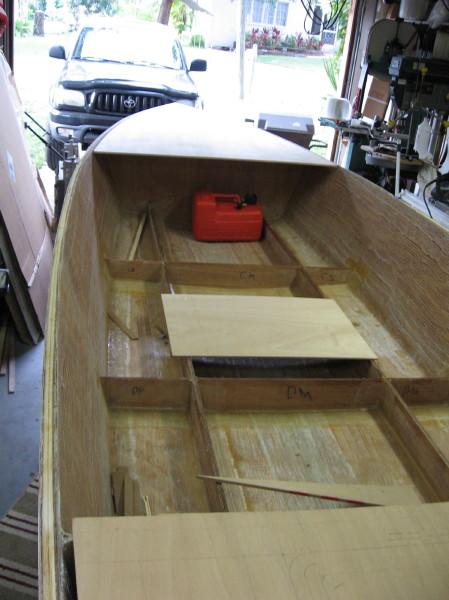
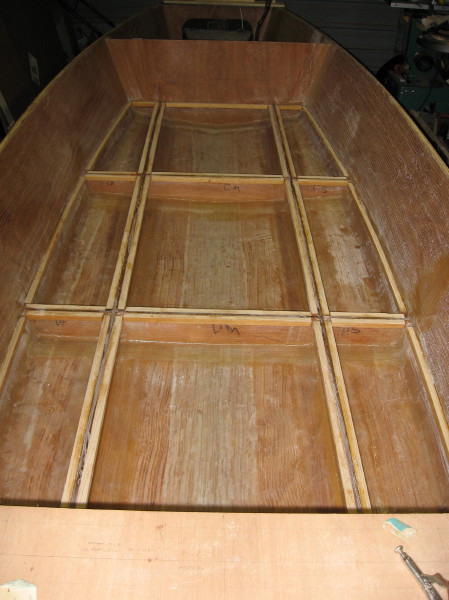
Below
is a picture just prior to working on getting the sole ready for
installation:
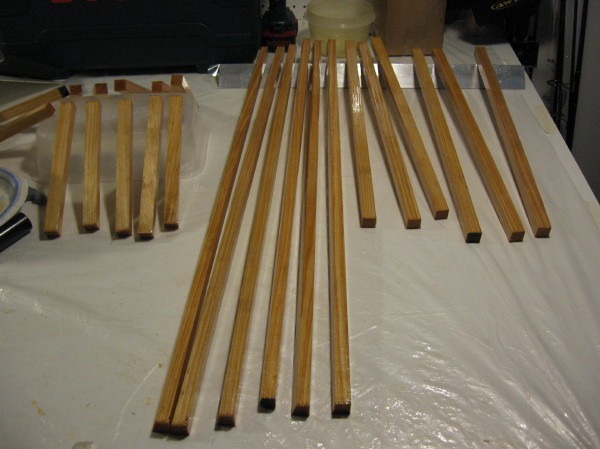
Here's
all the sole cleats getting coated with epoxy prior to bonding them
to the striinger edges and frames...
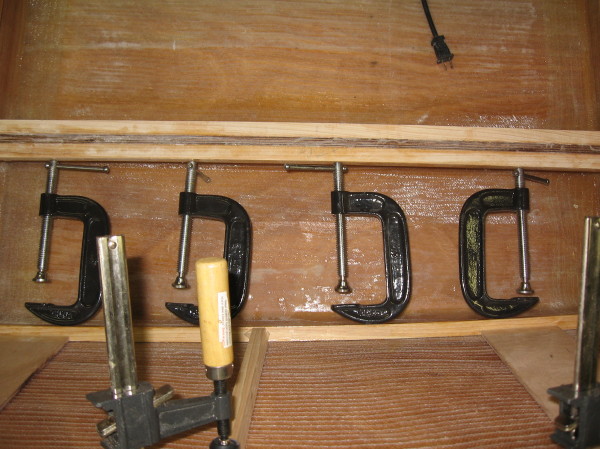
Here's
a shot showing some c-clamps beng used to "wedge" the
cleats against the hull sides to hold them in place for bonding...
All
the cleats installed...
Starting
to fill the chambers under the sole with bouyancy foam (2 part polyurethane
foam)...
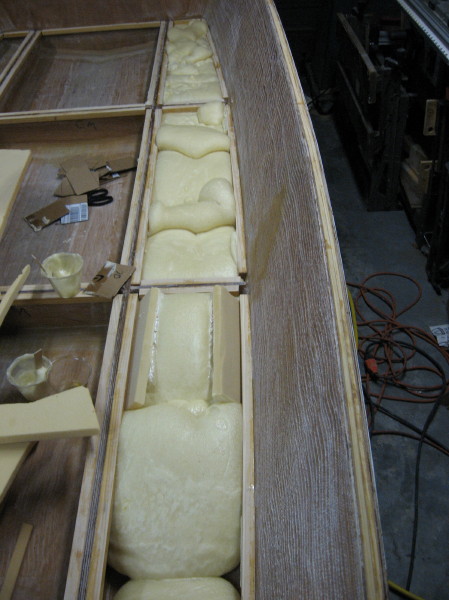
I used a
handsaw blade to trim the mushroomed tops of the foam level with
the tops of the stringers and frames...

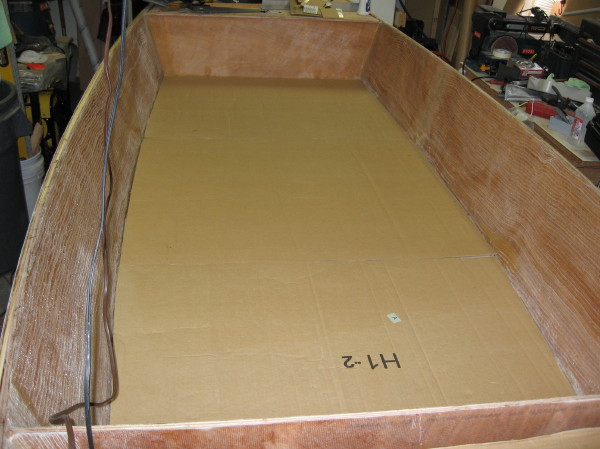
Here's
a cardboard template I made of the sole so I have an accurate means
of making the edge cuts that interface with the hull sides ...
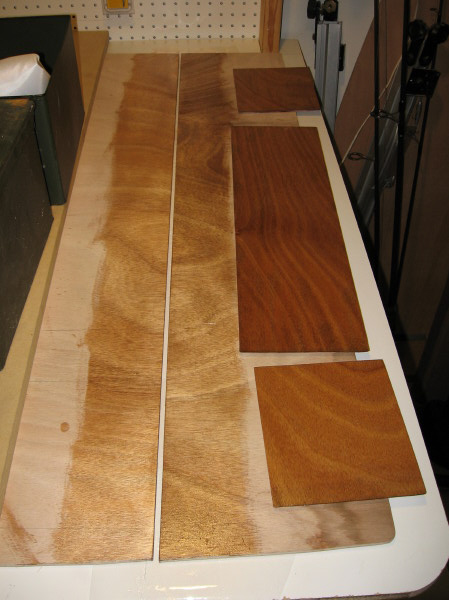
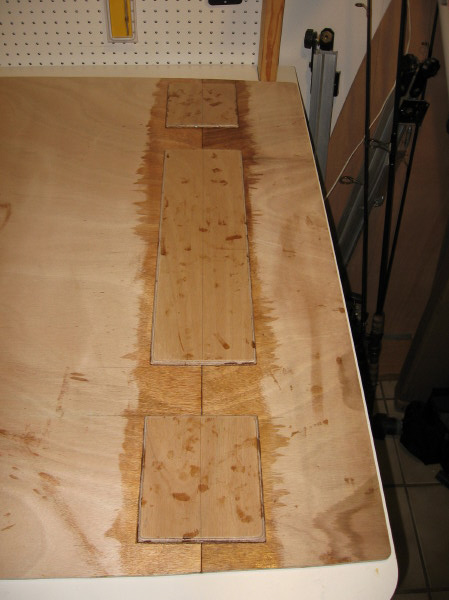
The
sole is 9' long so it takes 2 plywood sections, butt-blocked together
to create the full panel. The photo below shows the short sections
and the butt blocks used. A gap needs to be there to accommodate
the stringers & cleats...
The
sections joined & the butt blocks are bonded...
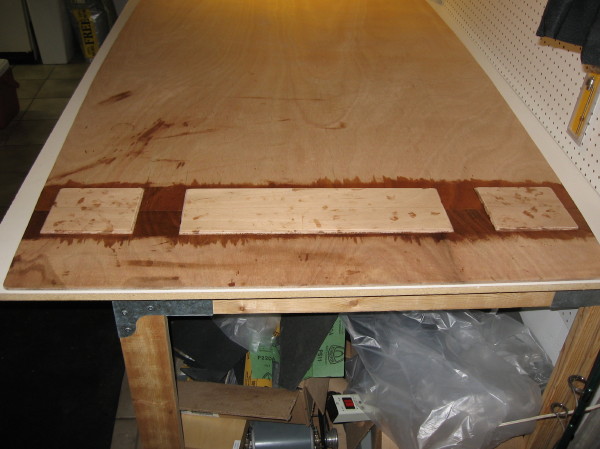
I
added some reinforcing pads on the underside of the sole. These
will strengthen areas where the grab rail will attach & where
cooler turnbuckles attach. I also laminated some 12 oz biax cloth
over the pads to spread the stressses out a little...
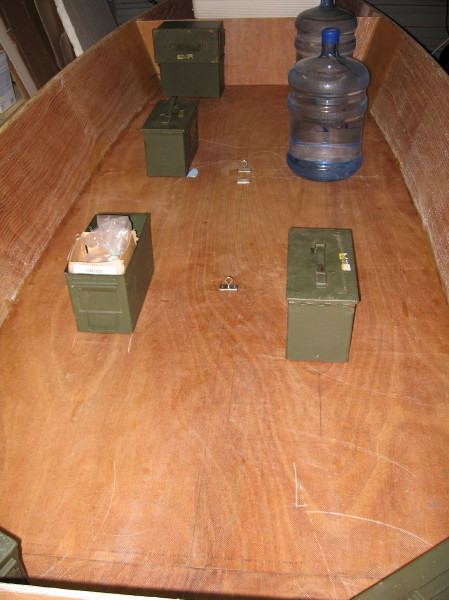
I
mounted the turnbuckle hardware to use as aids for lowering the
sole in place for bonding. Then I placed plenty of weight over the
areas where the glue was applied on the stringers, frame tops, and
cleat tops - Yes they're full of ammo ;)...
Once
the glue cured, I put down a fillet of epoxy/wood flour mixture
all around the sole's perimeter. Then I laminated over the perimeter
joints with 12 oz biax tape. I didn't get photos of those steps,
but they're similar to what's been shown on previous segments.
|