|
To make sure the stringers are postioned correctly, you have to put the frames back into the hull as shown below. This helps keep the stringers vertical and running straight down the hull length.
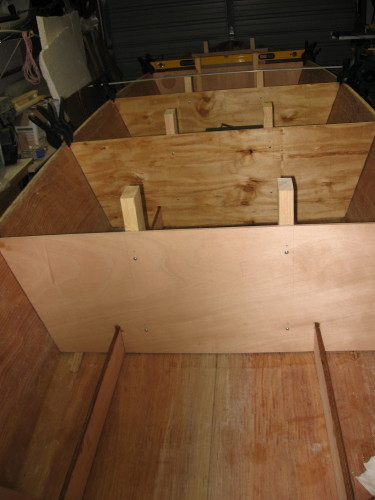
This is a pretty basic step, so it's just a matter of shimming the edges off of the hull where the stringer makes contact to eliminate any potential "hard spots". Then spot welding the stringers in place with a little squirt of wood flour and epoxy out of a ziploc bag. Followed by a fillet and then finally 12 oz biaxial tape.
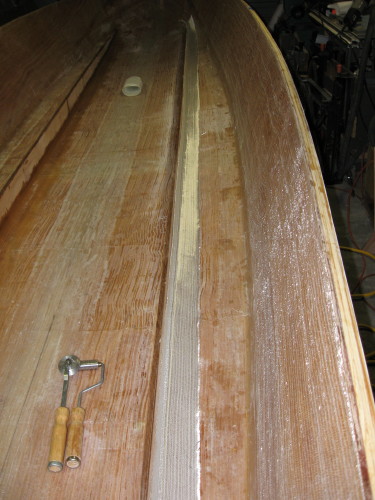
Here's a shot of one fillet along the stringer & hull...
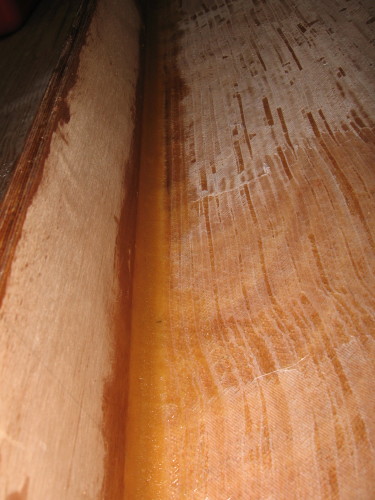
The stringers have a a 1/2" radius fullet along each length...
The 12 oz biaxial tape is positioned with half on the stringer face and half on the hull...
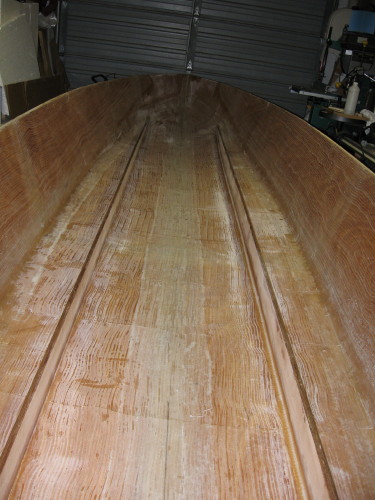
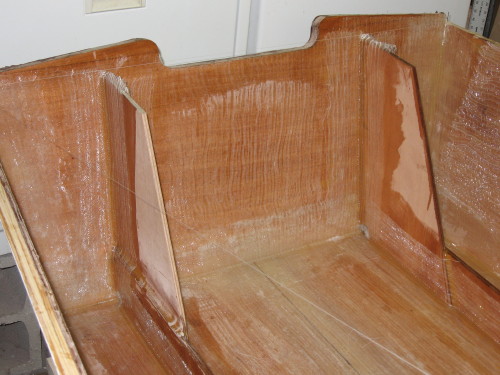
Here's a shot of the finished transom knees. There's nothing tricky about their installation. They we're bonded, spot welded, filleted, and glassed in parallel with the stringers...
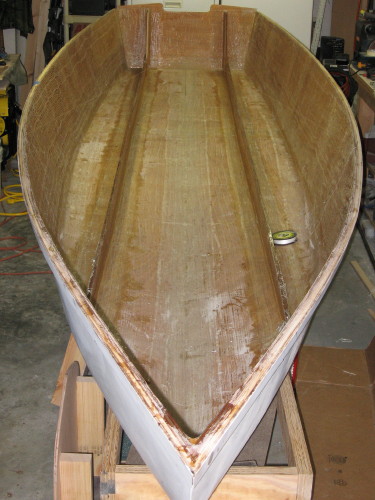
The stringers and knees finished...
|