Well, I've sanded a hell of a lot of fairing compound. It's taken several weeks & I could probably
spend another week touching up small areas until my arms fall off. But I said "the hell with it", and decided a little primer
would lift my spirits and give the boat a new, more finished look (until I start sanding the primer down!).
The primer I chose is made by System Three and it's an epoxy based high build primer called
WR-155 Primer. I've used this before on some other projects and like that fact that it doesn't smell and can be cleaned up
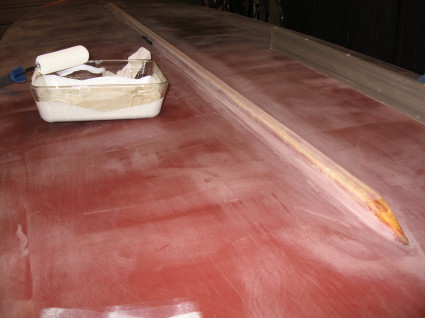
with water. It sands very easily and after about a week it cures to a very hard layer. I had the option to spray the primer, but I decided to roll it on. I used 4" high density foam
roller sleeves I got at Lowes (~$7 for 6). The primer base component was measured using a large 60 ml syringe, the hardener
was measured using a 20 ml syringe and 50/50 mixture of water & Isopropyl alcohol was used as a thinner.
I mixed up batches with the total batch
size of 240 ml base, 60 ml activator, and ~60 ml of thinner. This was enough to coat half the boat with one coat of primer. I applied two coats to
everything and used about 1/3 of a gallon (1325 ml) of mixed primer (base & activator). I you do the math, it was 4 large
300 ml. batches (not including thinner) & then a small 125 ml mixed primer batch. Here's a few shots of the process and after 2 full coats...
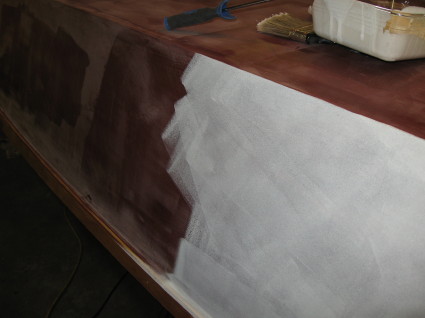

After a 2nd coat:

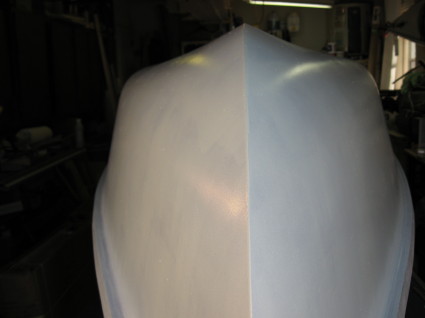


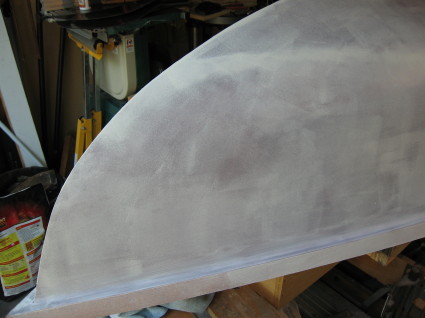
Two primer coats barely hides the dark maroon color of the fairing compound, but a lot of the primer
will be sanded off exposing the fairing compound again anyway. I felt it would be more practical to save any additional primer
for the final coats than to add anymore in this step.
_______________________________________________
Part 2
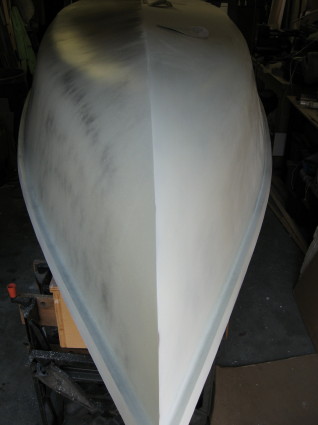
It's been about 3 weeks since the original primer was applied. Since that time I've sanded and patched all the imperfections I found. I decided to spray on a 3rd & 4th primer coat since the original layers were sanded down to the fairing compound in several places. This final coat was sanded using 240 grit sand paper (in beginning) using a random orbital sander, so the process was fairly quick. One thing to note about System Three high build primer is that it gets harder to sand as it gradually cures. By the time I was down to the last section of the boat (6 days from the intial application) I was sanding with 180 grit to remove the orange peel left from spraying the primer.
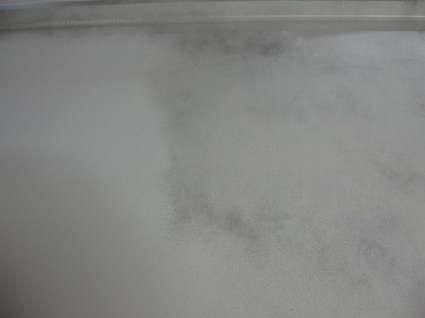
In oder to keep track of sanded areas I used fast drying automotive primer (Rustoleum brand) that was misted on the System Three primer as a "guide coat". Here's a couple of pictures showing what I mean...
Before wrapping up this this section, I wanted to mention a small tool I made for putting a radius on the chine edges. I had built the chines edges to a very sharp angle, and before the final primer coats I wanted to put just a small radius on them. I could have hand sanded them and tried to maintain a uniform profile, but I had a n idea to try a tool that would scrape the sharp corner down to a constant radius. I knew the tool needed to be made out of some kind of durable material because the epoxy/microballoon compound would be pretty abrasive.
Here's what I came up with usng a small grinding wheel on my Dremel tool...
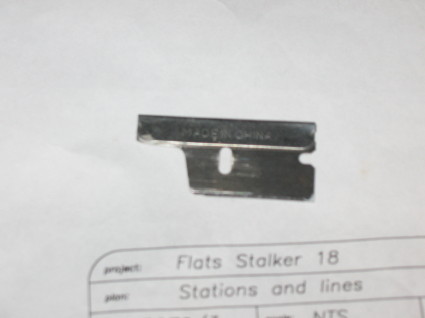
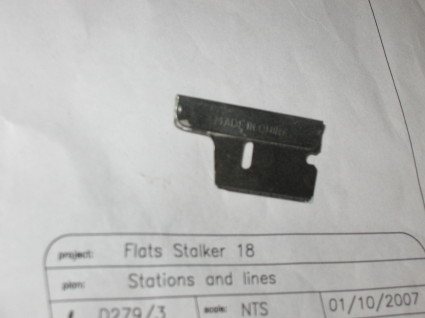
I dulled the sharp razor edges with the Dremel to prevent accidently cutting myself using the tool. The modified razor blade worked very well in scraping a radius in the chine edge.